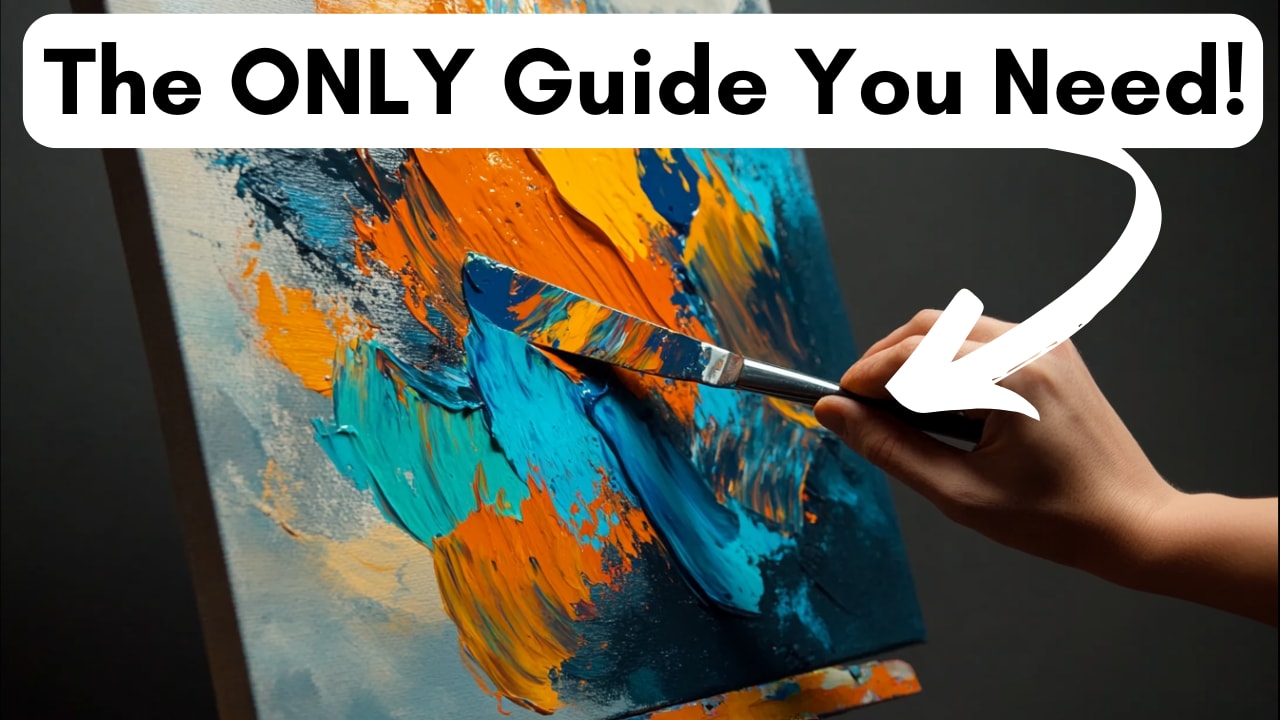
Discover the art of palette knife painting with our comprehensive guide for beginners. Learn essential techniques and create stunning textured artwork!
How to FIX & AVOID Muddy Colours in Acrylic Painting 🎨
Muddy colors ruining your paintings? You are not the only one! Mixing acrylic colors sometimes gives dull, muddy results that can ruin the vibrancy of your artwork. But no need to be anxious! In this tutorial, I will demonstrate the ways through which you can not only fix those dull colors but also avoid getting them in the future. So, let’s start!
Table of Contents
- Step 1: Understanding Muddy Colors 🧐
- Step 2: Fixing Existing Muddy Colors 🔧
- Step 3: Tips to Avoid Muddy Colors in the Future 🚫
- Step 4: Embrace the Learning Process 📚
- Final Thoughts 💭
Step 1: Understanding Muddy Colors 🧐
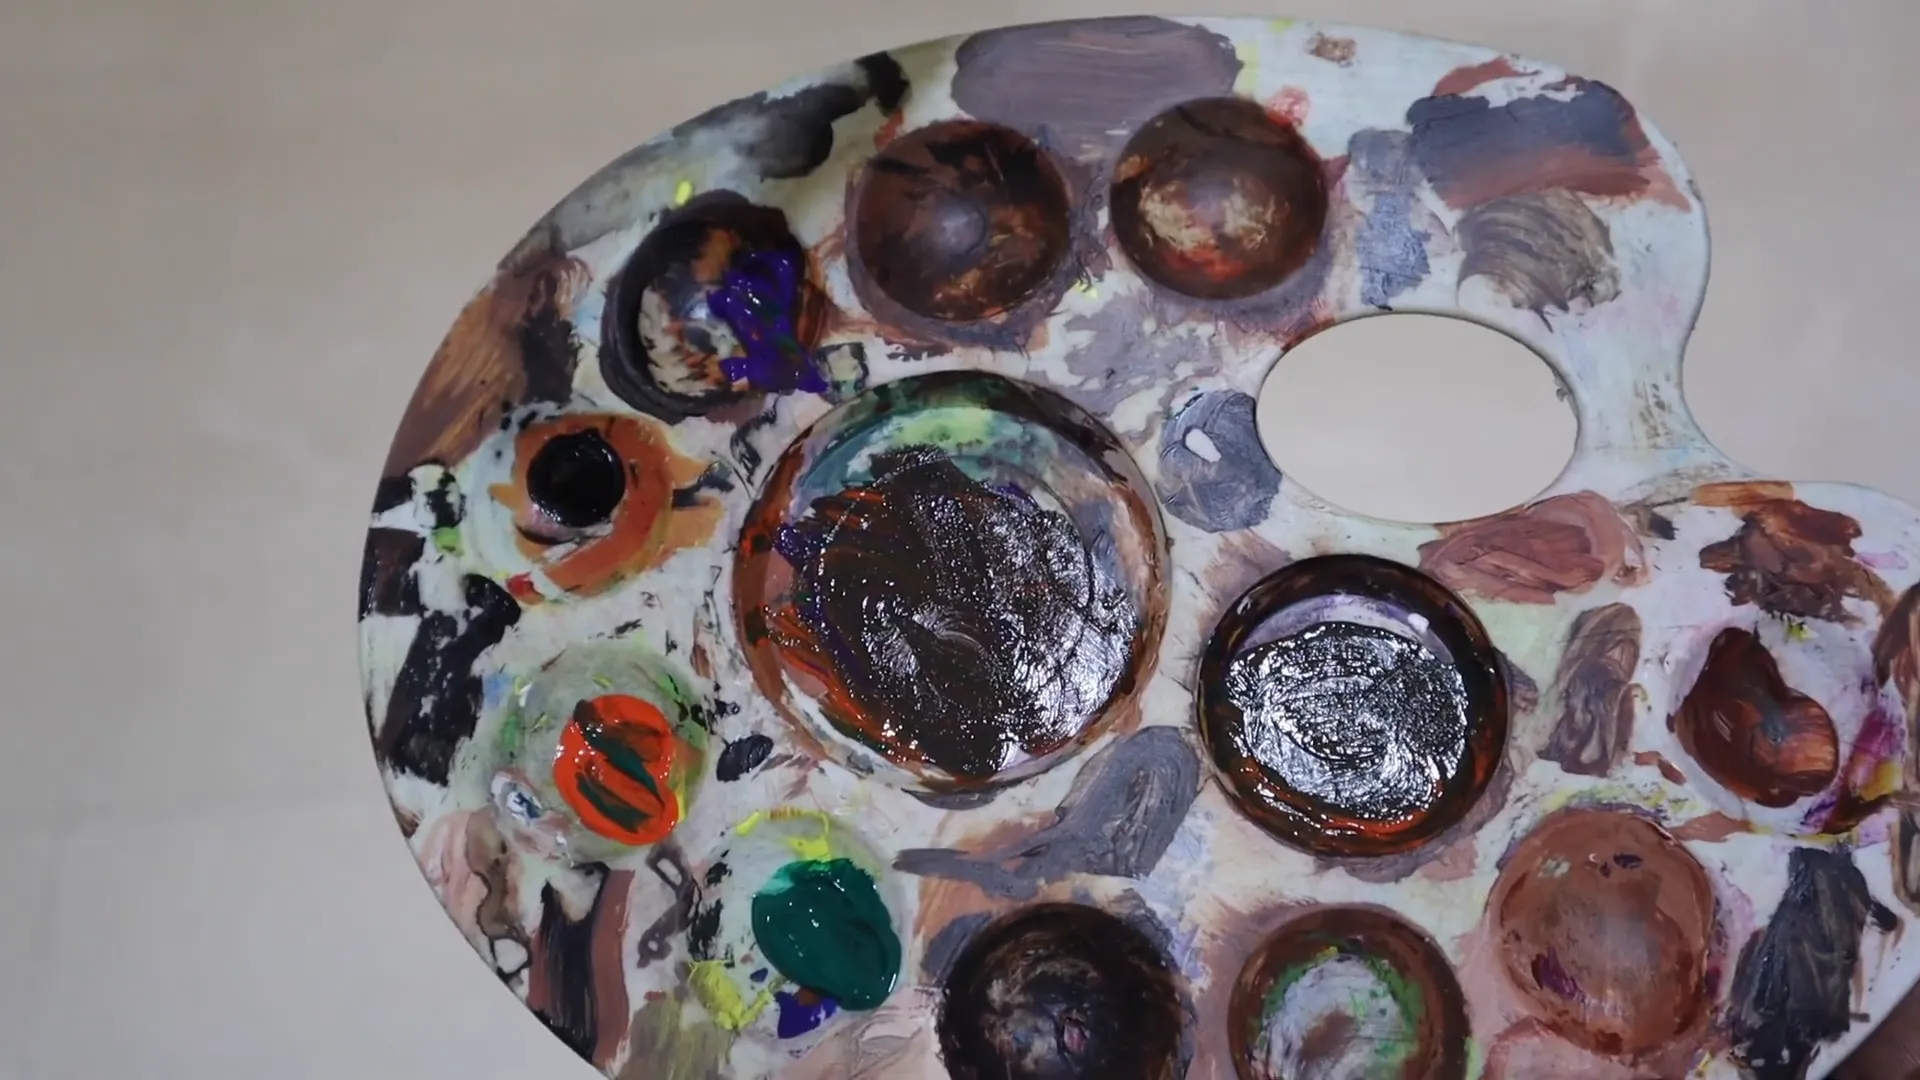
By muddy colors, we refer to dull and lifeless tones that are created by mixing too many colors or by wrong combination of complementary colors. Although sometimes these muted tones are desired, they are most of the time made unintentionally, and are capable of reducing the vibrancy of your painting.
Step 2: Fixing Existing Muddy Colors 🔧
It's absolutely normal to feel disheartened after completing a painting and realizing that there are muddy areas. But, don't worry! Let us take you through the steps to address those problematic spots:
- Identify the Problem Area: The first step is to identify where the muddy colors are in your painting. For instance, in one of my older works, the brown tones were overpowering the tree area, making it look muddy against the surrounding colors.
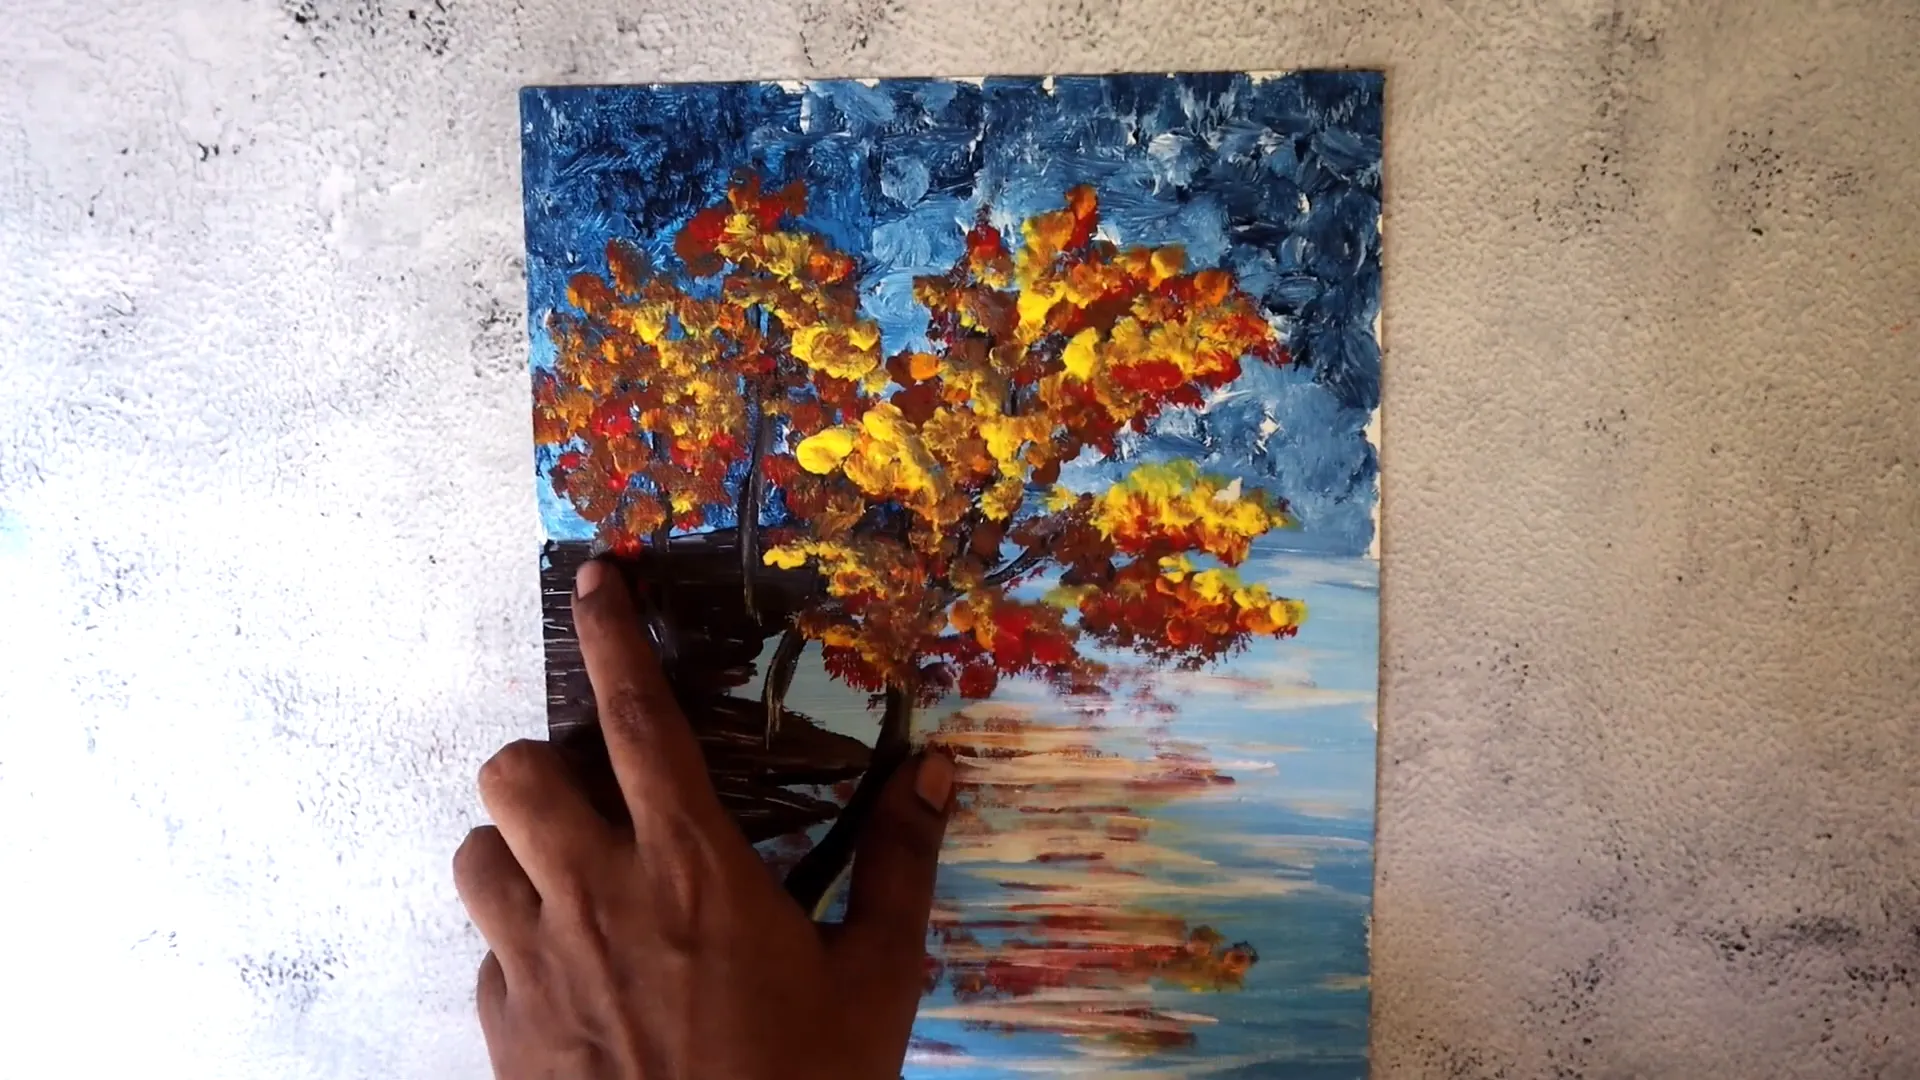
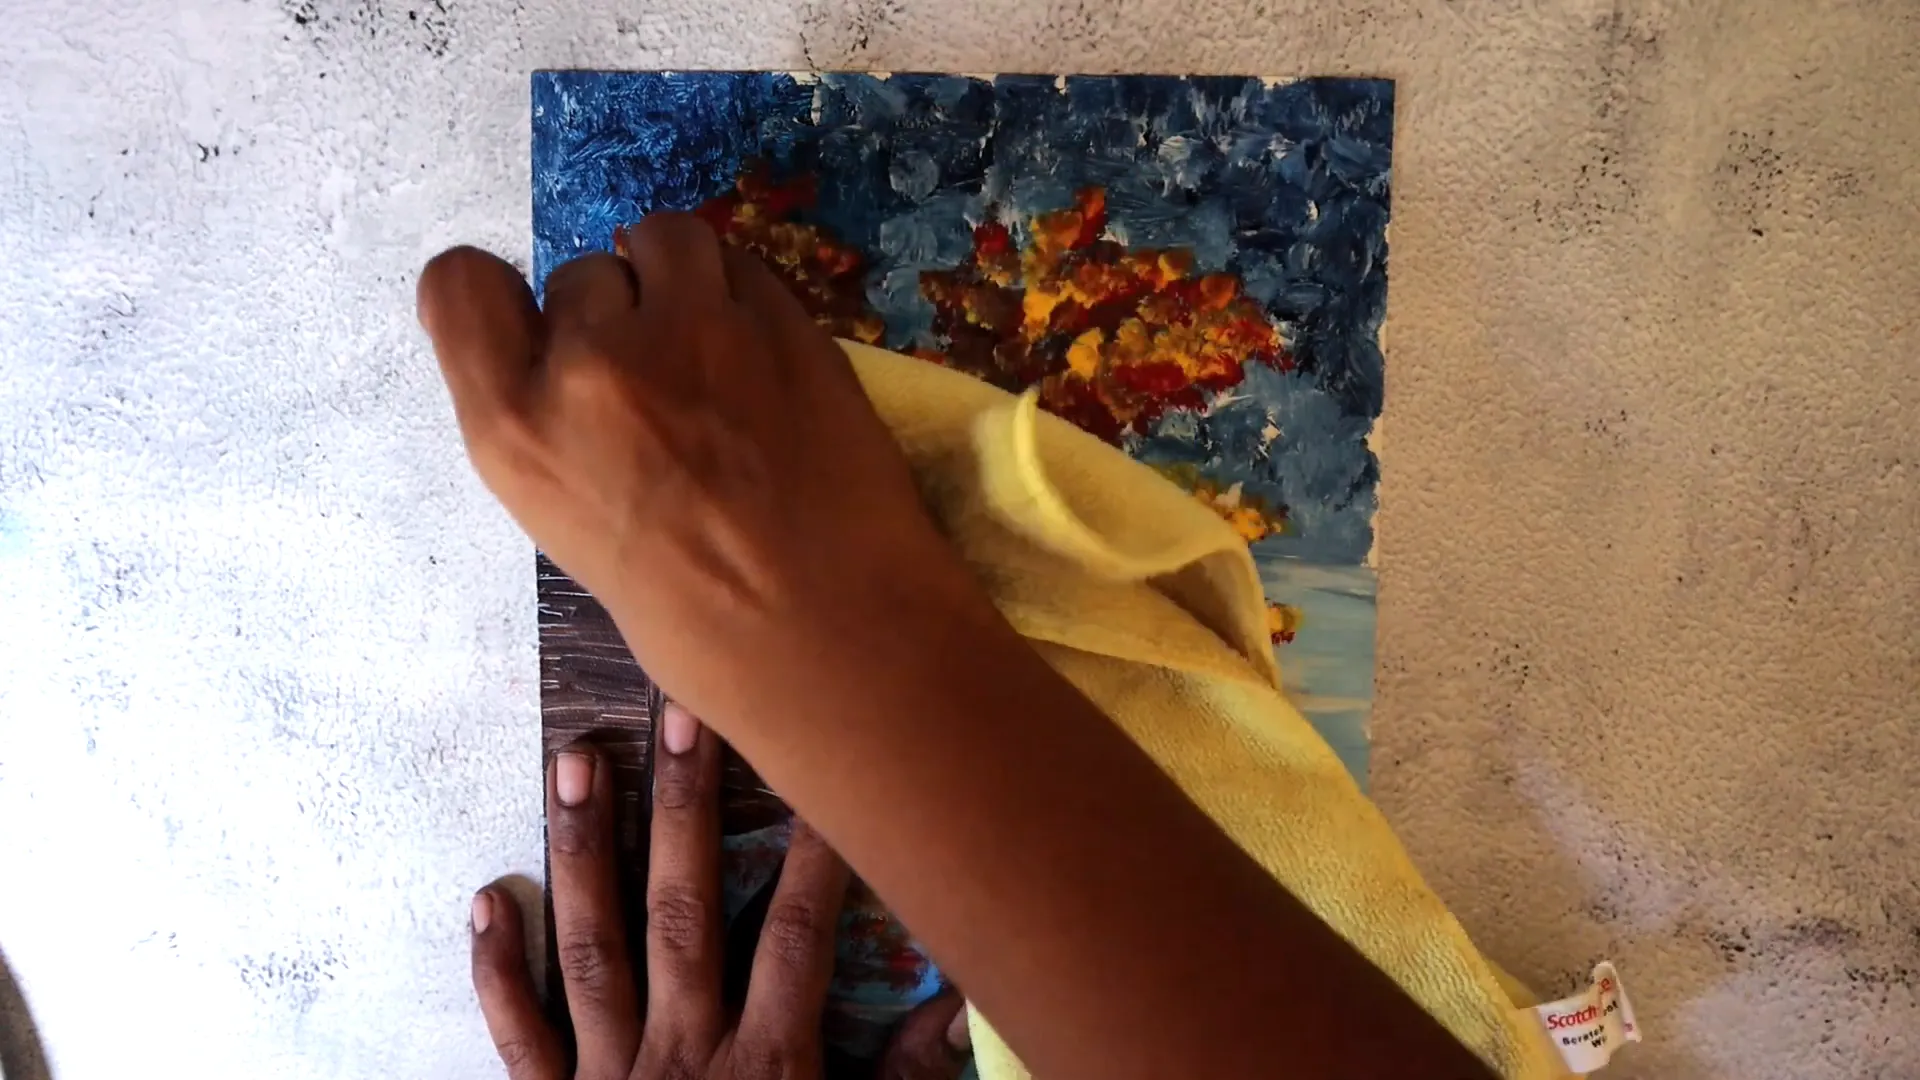
- Wipe Off Wet Paint: If the paint is still wet, you can use a damp cloth to wipe off the problematic area. This works best if your canvas is still fresh or if you just laid down the paint.
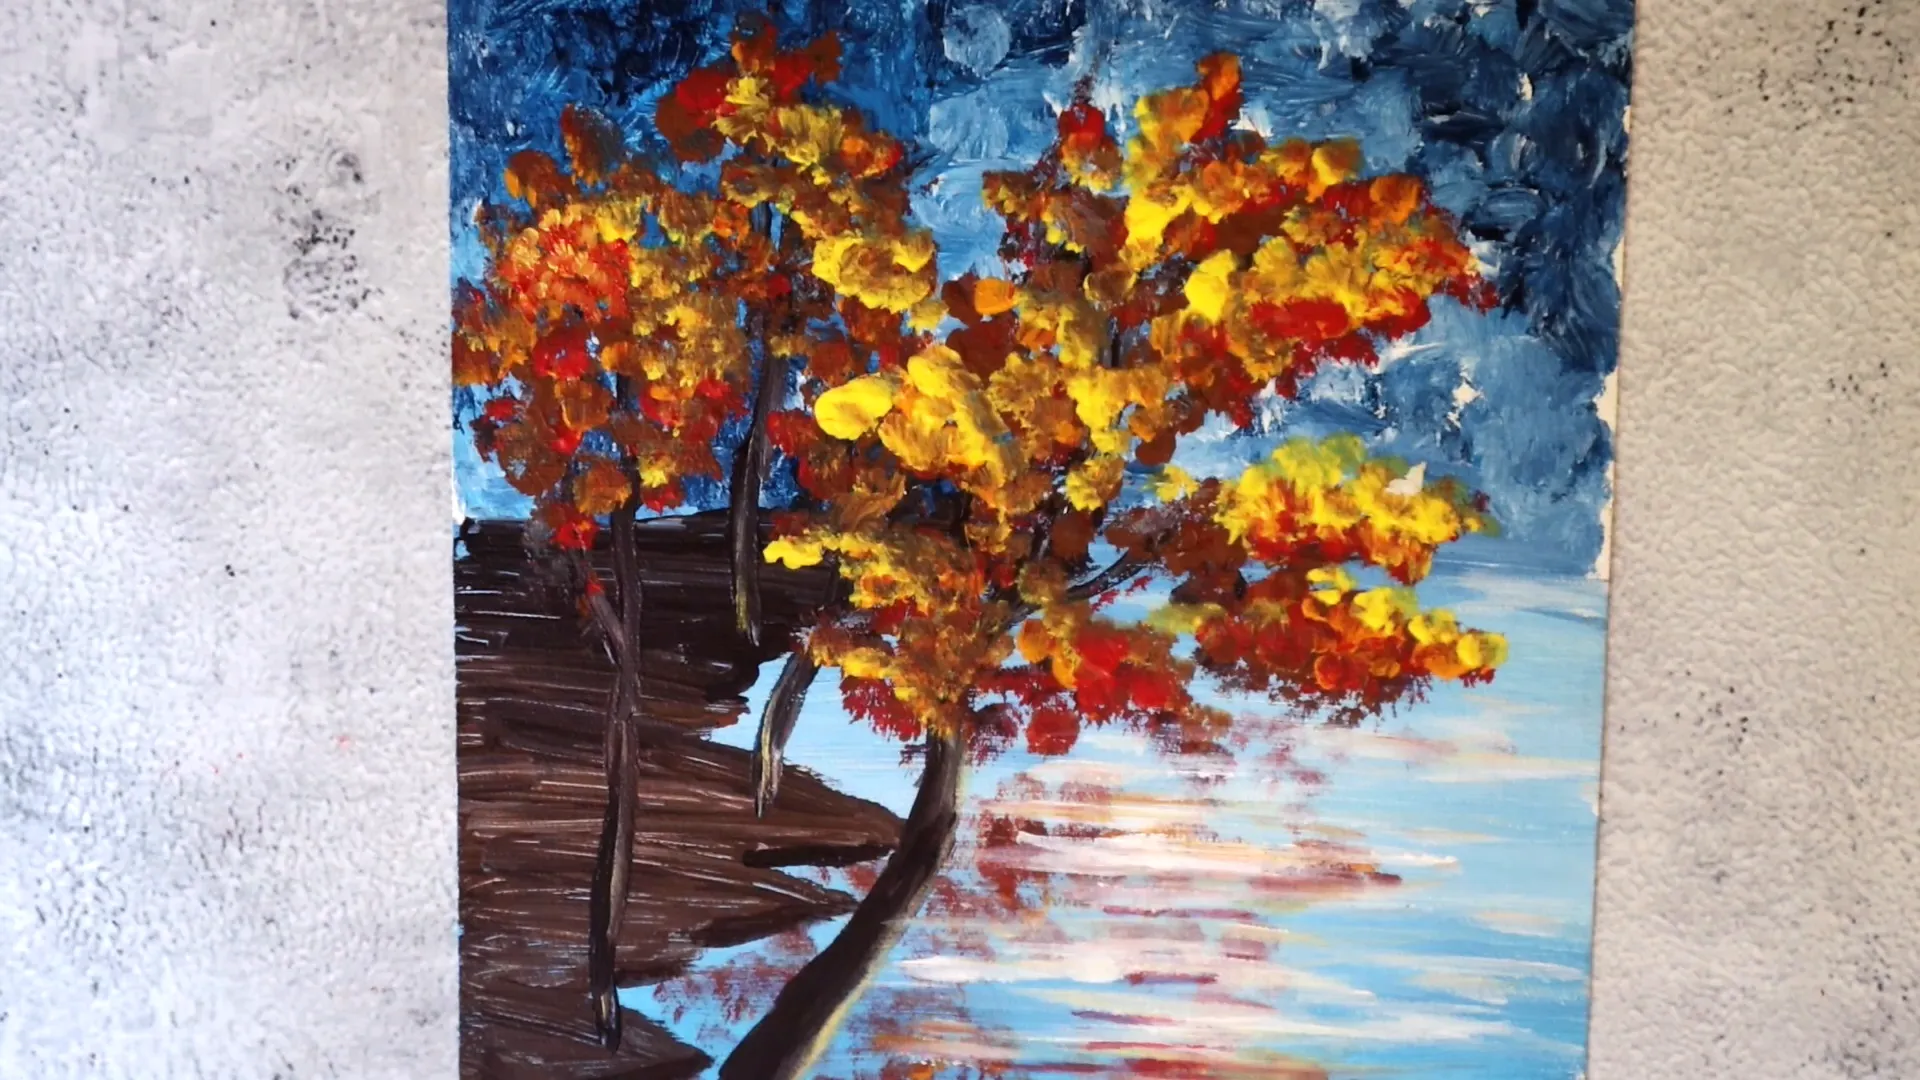
- Repaint on Dry Areas: If the paint has dried, mix fresh colors and repaint over the muddy areas. This allows you to adjust the painting as needed.

- Build Up Layers: Once the area is dry, you can build up layers with brighter colors to add vibrancy. For example, if you start with an orange base, you can layer yellow on top to enhance the brightness.
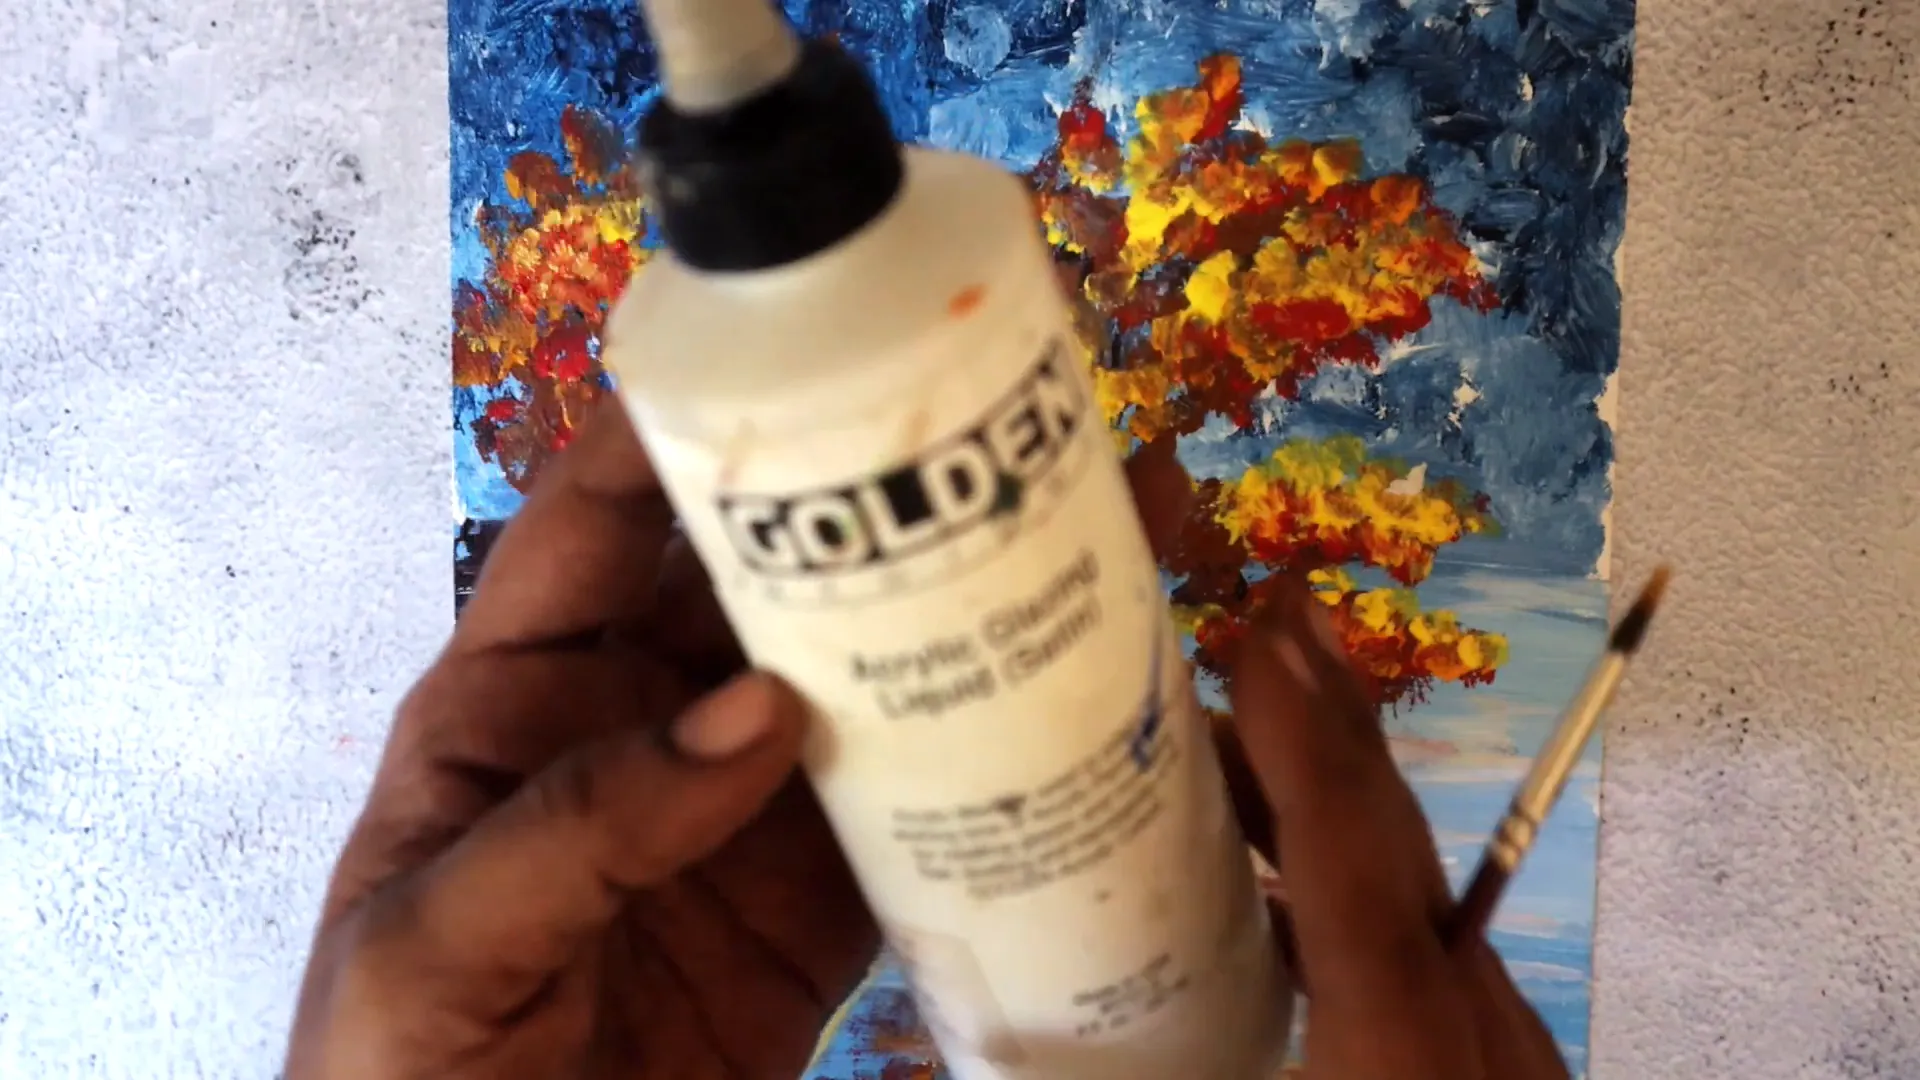
- Use Glazing: Glazing can also help. This involves applying a thin layer of a brighter color over the muddy area, using a glazing medium or just a bit of water to thin the paint. Make sure to let each layer dry before applying the next!
Step 3: Tips to Avoid Muddy Colors in the Future 🚫
Since we have already resolved the problem of creating muddy colors, let's turn our attention to the ways of avoiding them in the future:
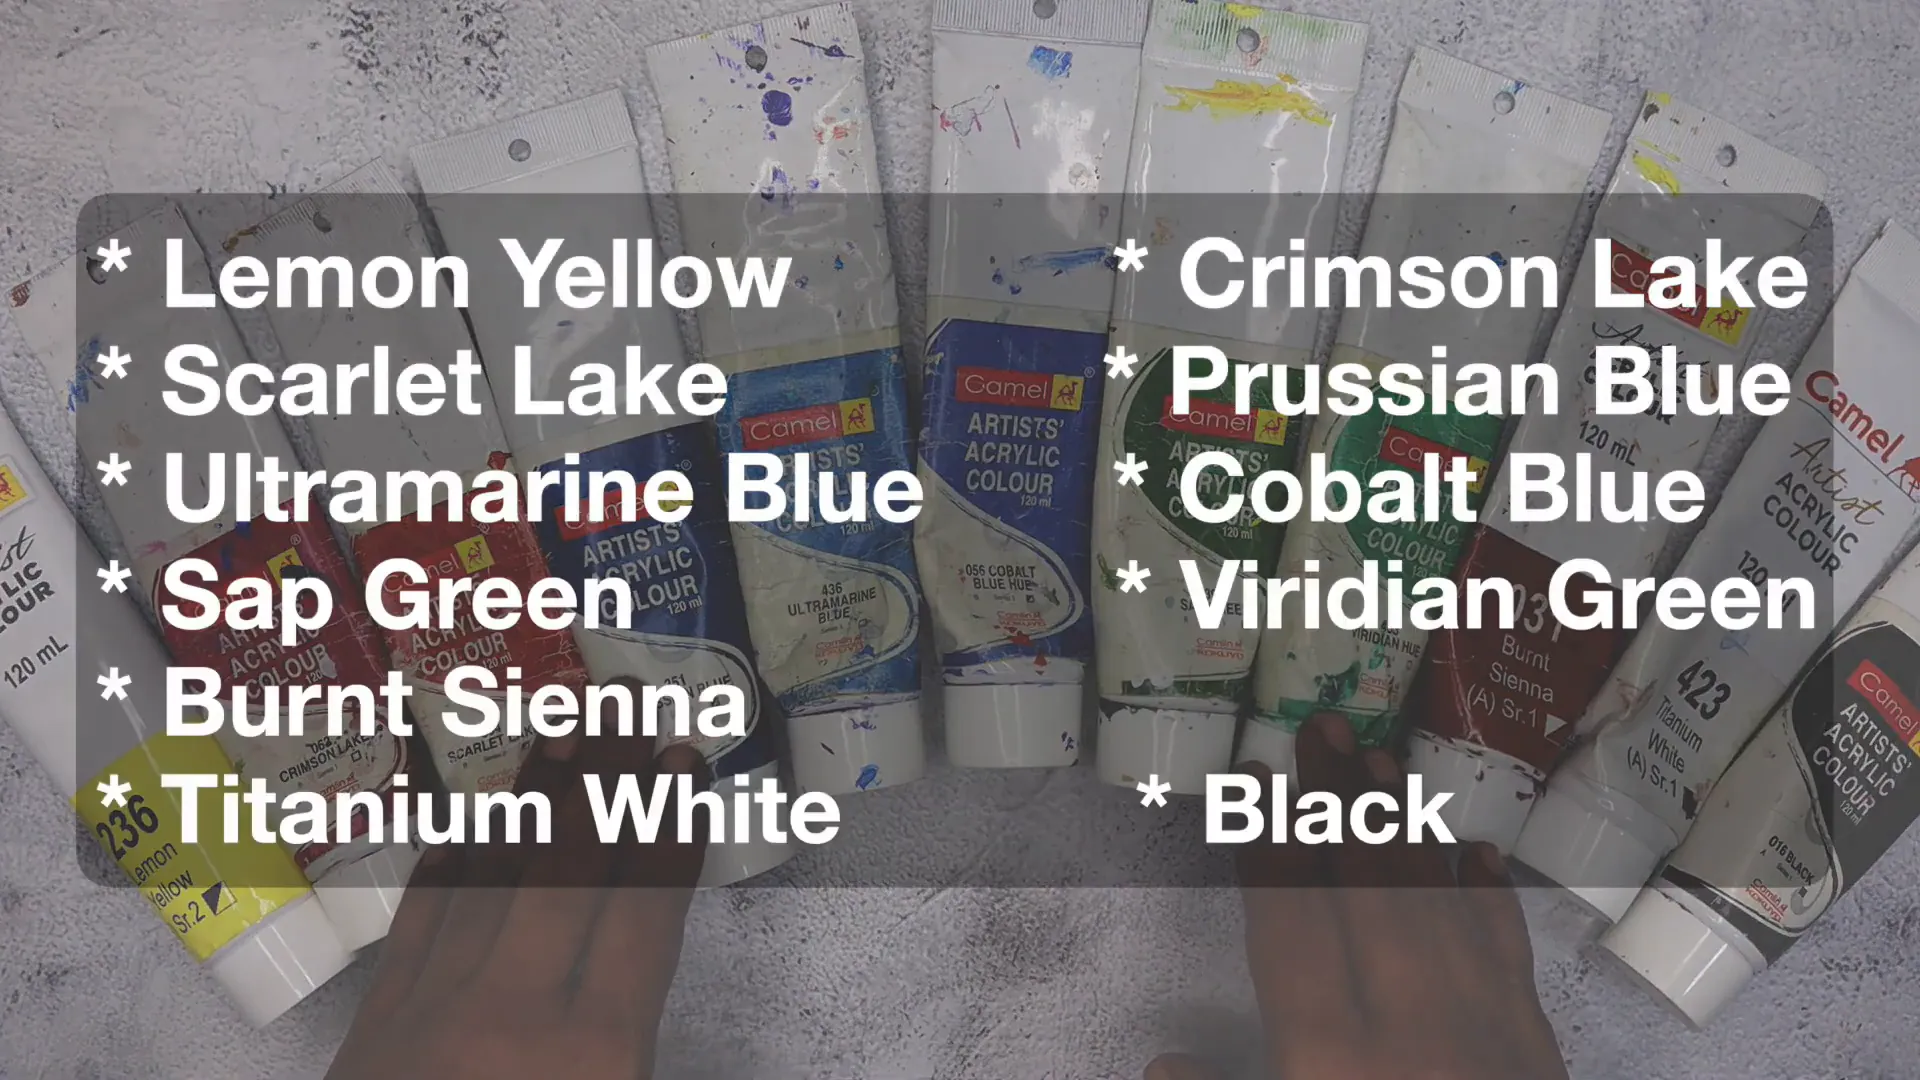
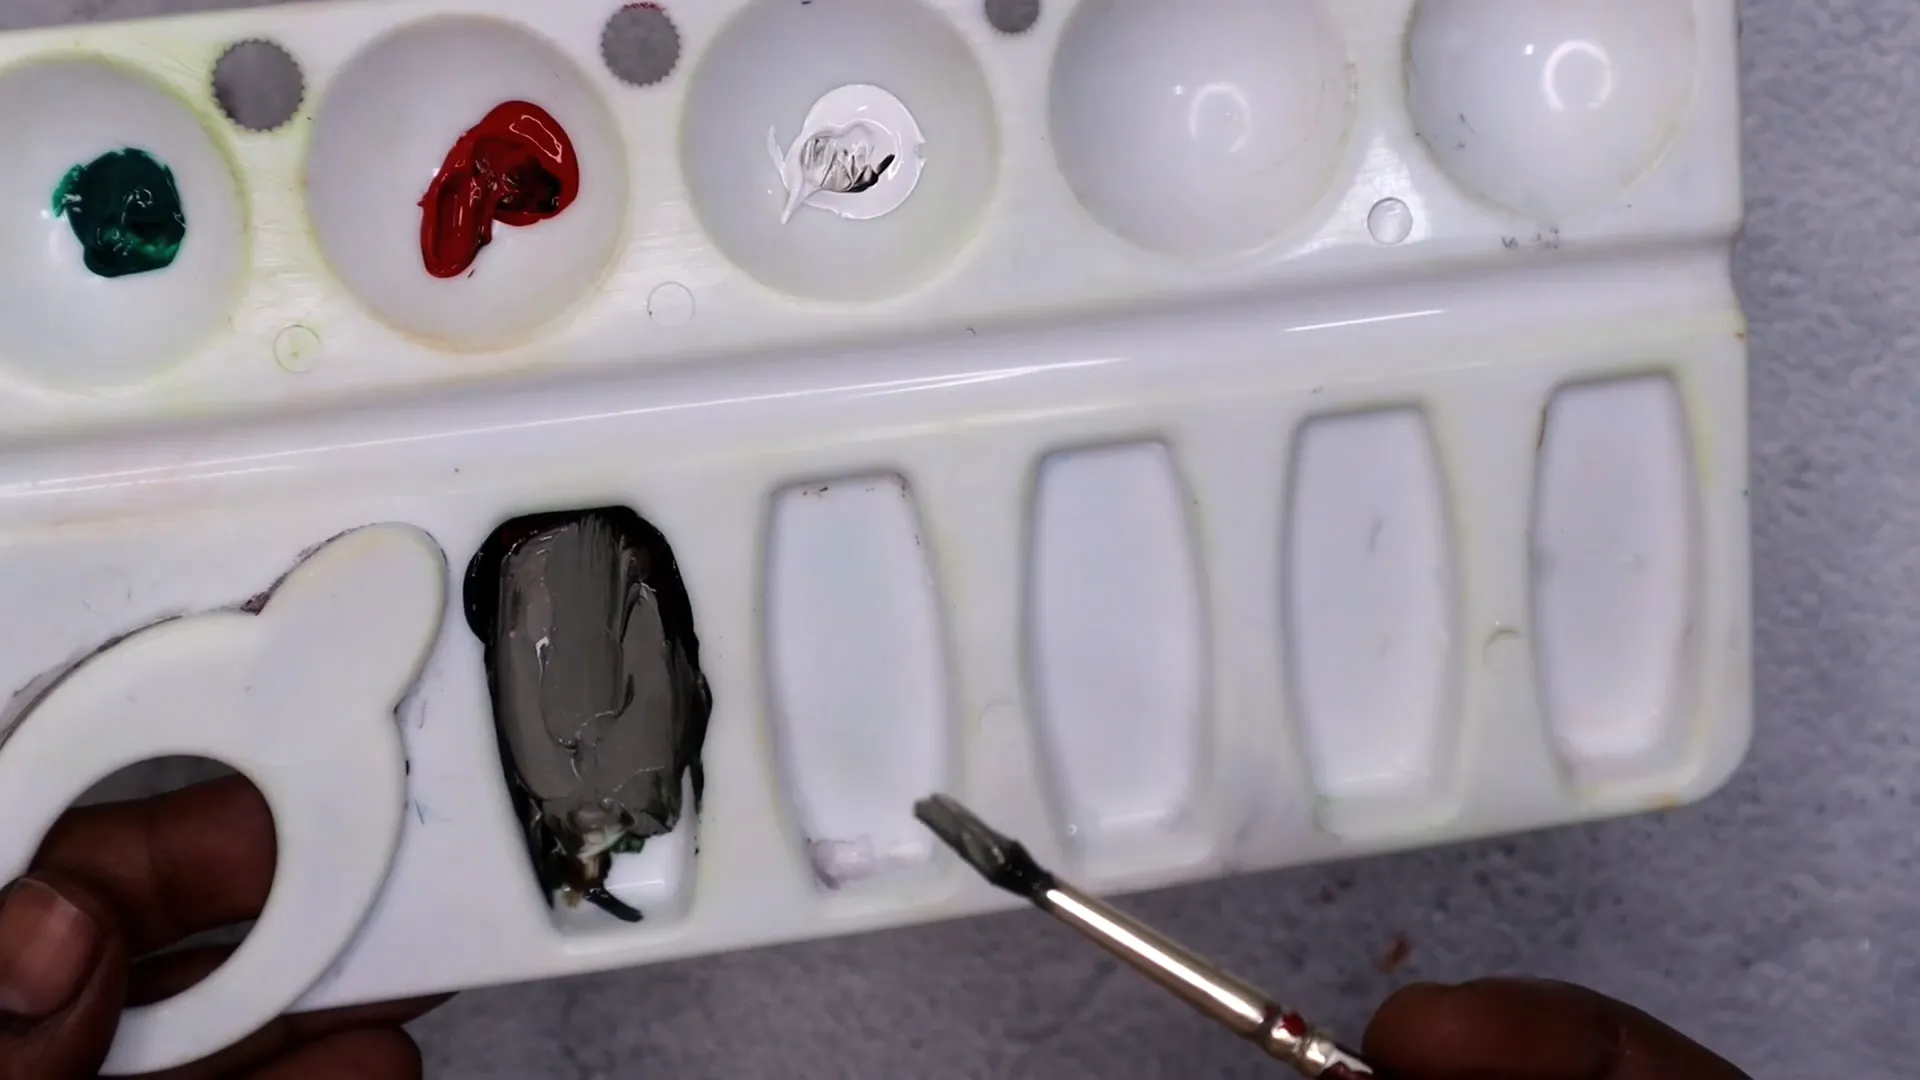
- Stick to a Limited Palette: Fewer colors mean fewer chances to create muddy mixes. As a beginner, limit yourself to 10-12 colors. This helps you master color mixing without overwhelming yourself.
- Start with Primary Colors: Use primary colors (red, yellow, blue) as a base. You can mix these to create other colors, and adding black and white can help you adjust the lightness and darkness of your mixes.
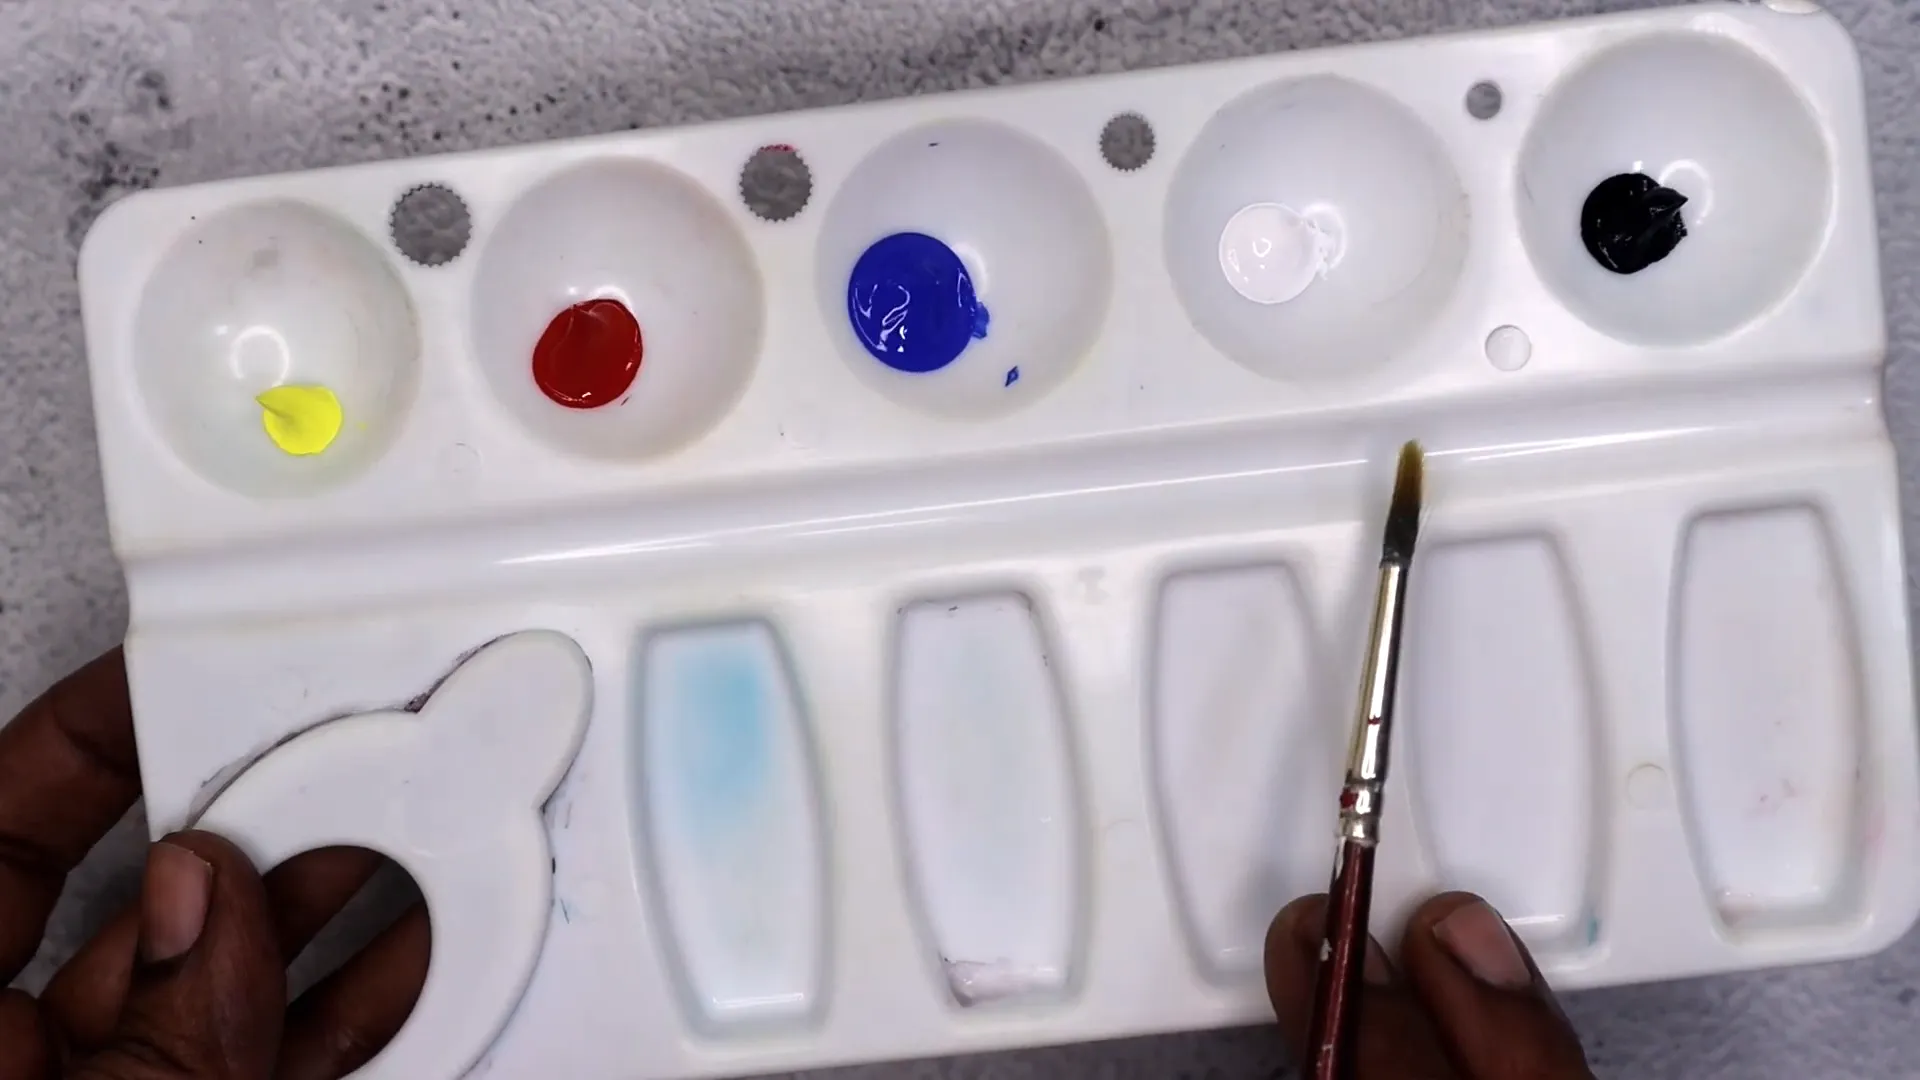
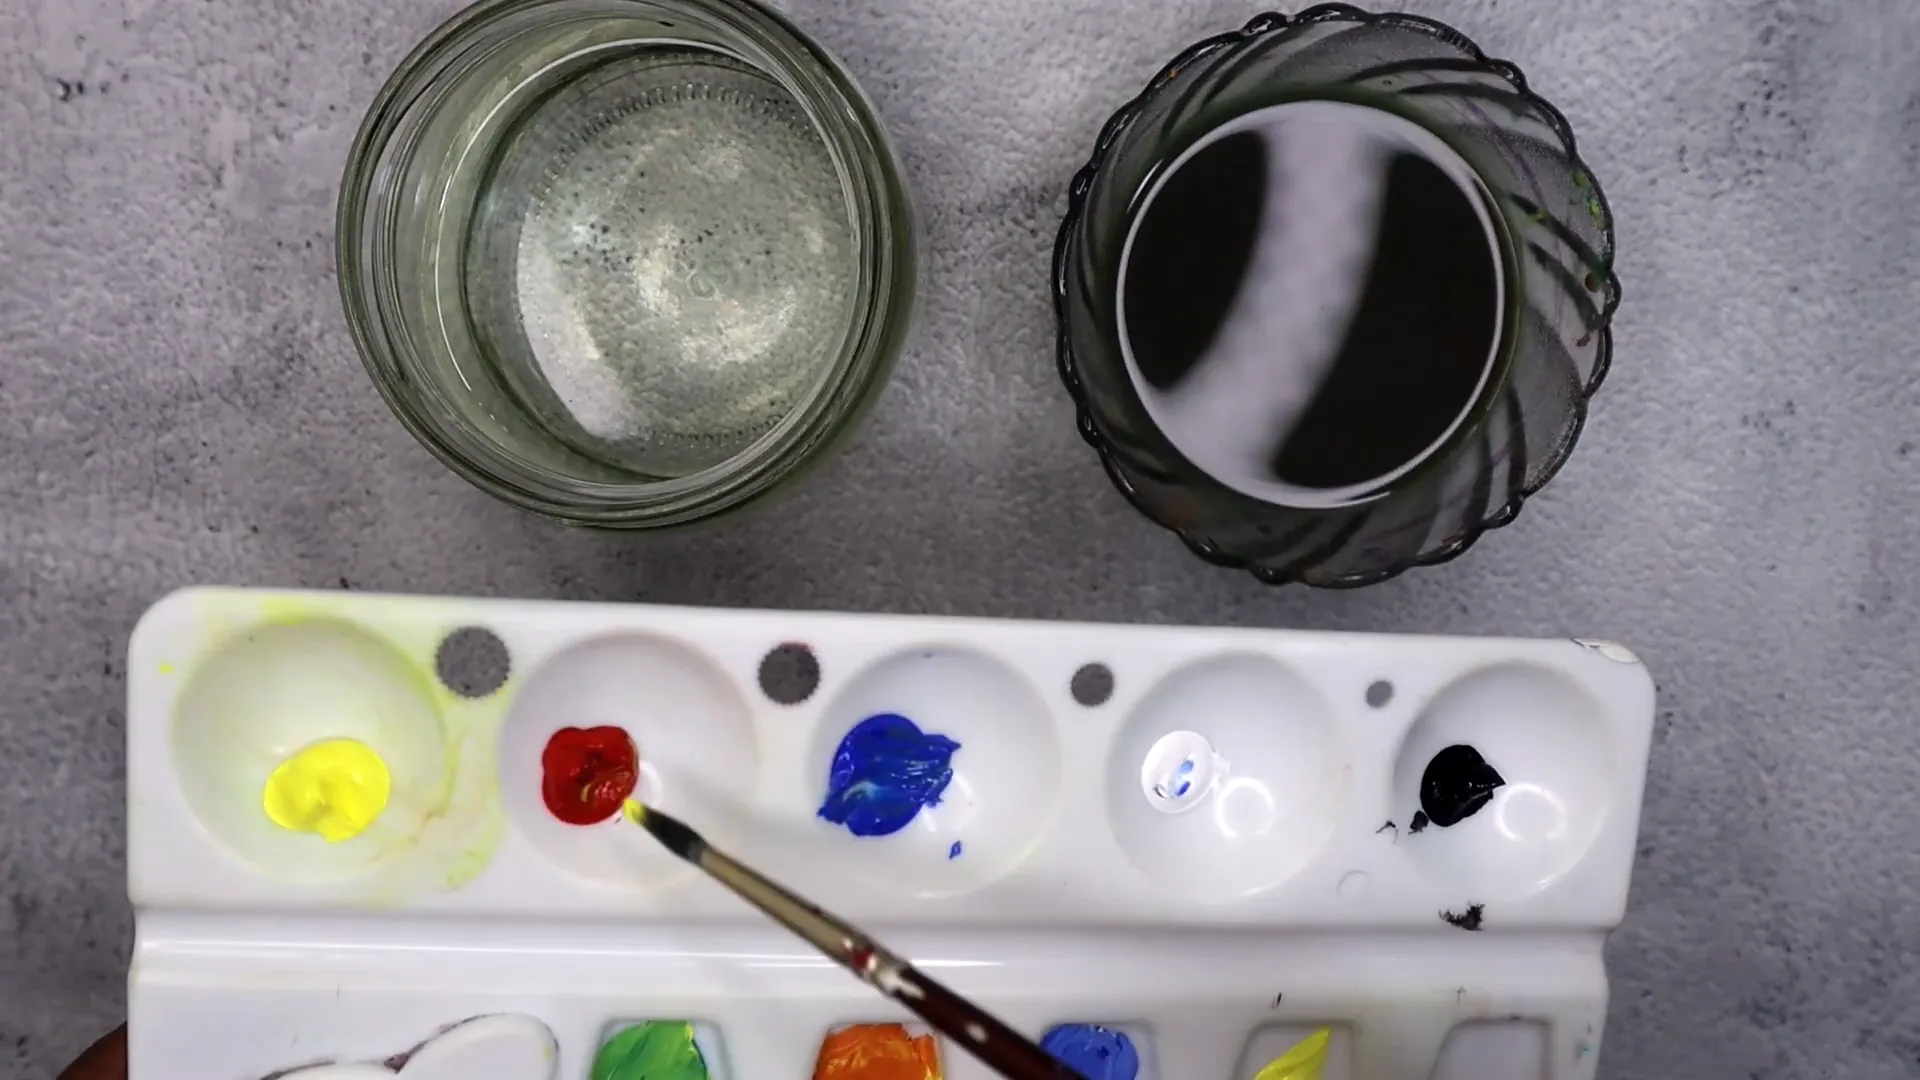
- Clean Your Brushes and Tools: Always rinse your brushes and wipe your palettes frequently. A clean palette allows you to see the true colors you’re mixing, preventing unwanted color contamination.
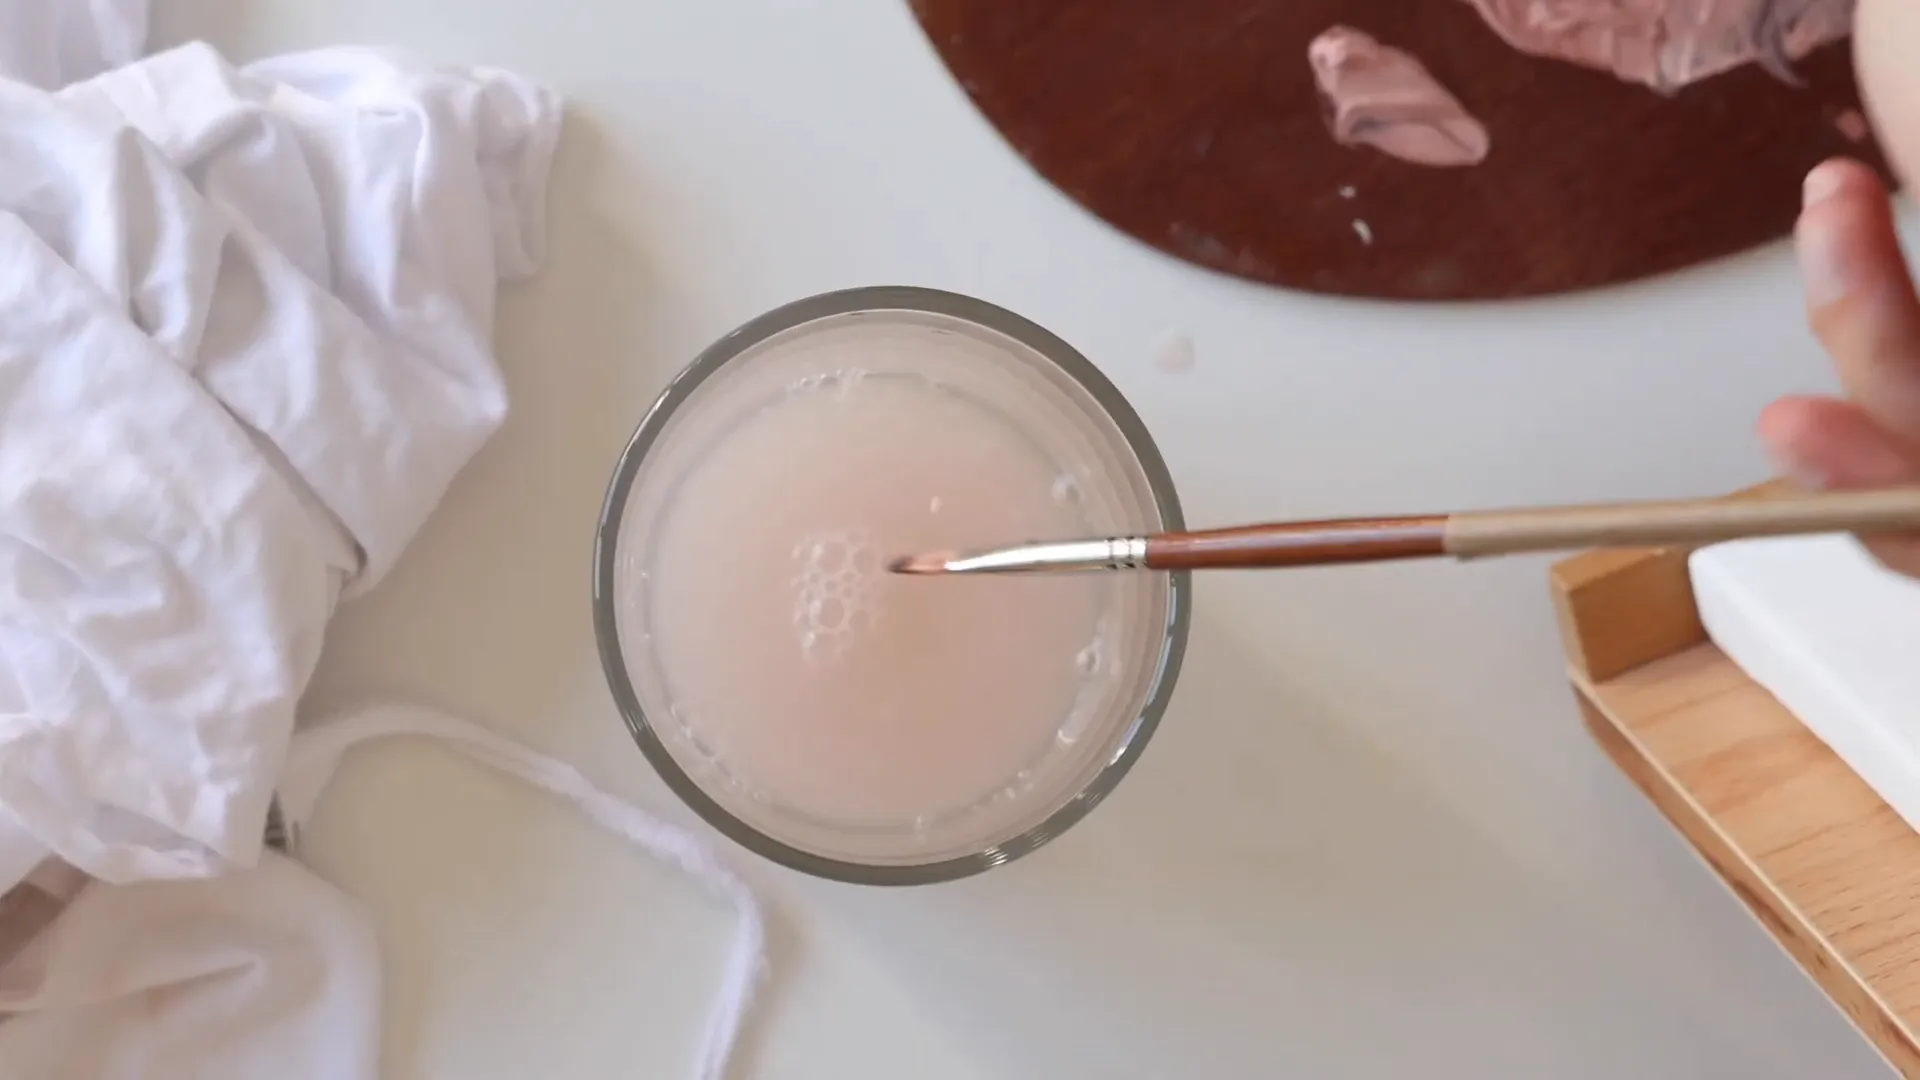
- Keep Your Water Clean: Change your water often. Dirty water can lead to dull colors. If your water looks gray or murky, it’s time for a change!
- Layer Instead of Over-Mixing: Instead of trying to mix the perfect color on your palette, apply colors in layers on your canvas. This technique allows for better color development without creating mud.

- Learn Basic Color Theory: Understanding how colors interact can save you from mixing complementary colors together unless you want a neutral tone. Knowing when to mix and when to hold back is key!
Step 4: Embrace the Learning Process 📚
Remember, every artist faces the challenge of muddy colors at some point. Don’t be discouraged! With a few adjustments, you can transform any muddy color into something vibrant.
Final Thoughts 💭
By following these steps, you can not only resolve muddy colors in your paintings but also elude them in the near future. Acrylic painting is an adventure of discovery and imagination. Continually flag, try out, and adjust, no matter what. Enjoy your painting!
Get Your Free Guide
Acquaint yourself with the fundamentals of colors and the art of color mixing! Snag your copy of the FREE Acrylic Color Mixing Guide!
Download NowLeave a Comment 👋
Leave a Comment 👋
0 Comments
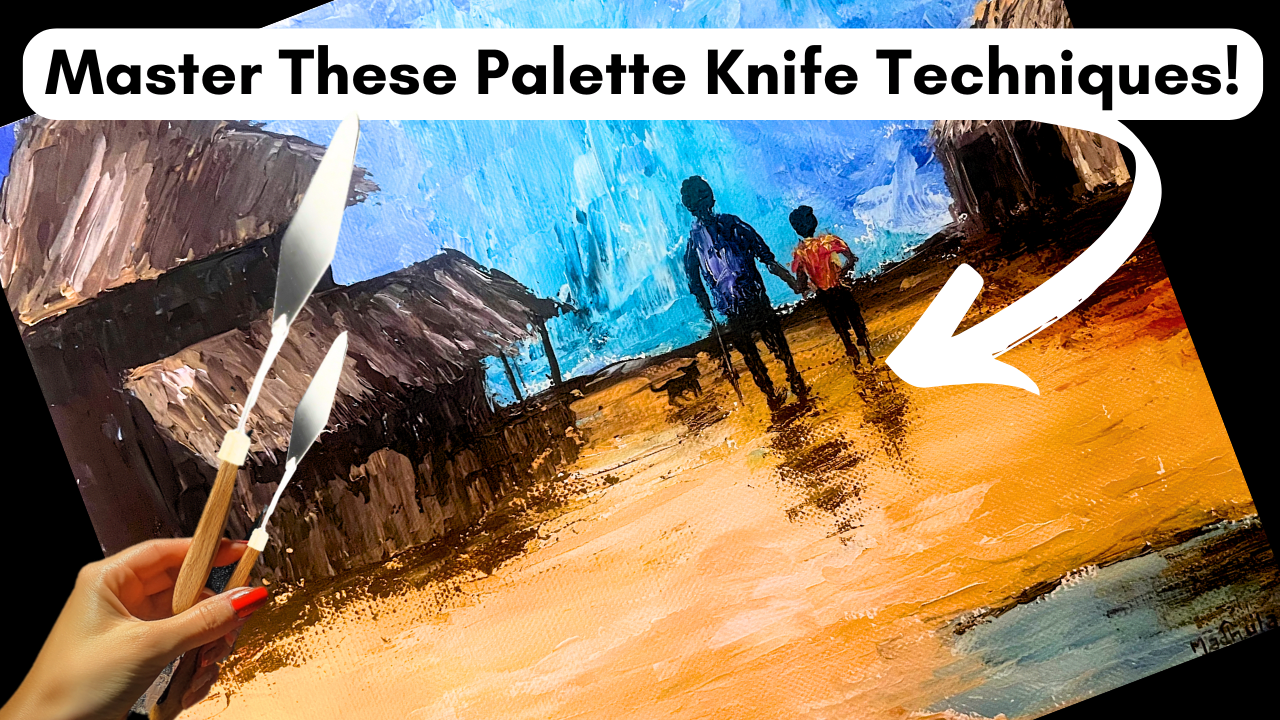
Unlock Your Creativity with Palette Knife Painting Techniques
PALETTE KNIVES - Your ULTIMATE Guide!
Unlock your creativity with our ultimate guide to palette knives! Discover techniques, types, and tips to enhance your painting skills.
ACRYLIC Painting - Top 3 Key Strategies to IMPROVE your paintings
ACRYLIC Painting - Top 3 Key Strategies to IMPROVE your paintings